By Serj · July 2026 · 5 min read
Udio generates some of the most detailed and textured AI music available. The instrumentation is rich, the arrangements are complex. But the same qualities that make Udio tracks interesting also make them slightly more challenging to master than simpler AI output.
This guide covers what makes Udio different, and how to master it correctly for Spotify, YouTube, and Apple Music — free, in the browser.
How Udio Exports Differ from Suno
Both generators export hot. But they clip differently.
Suno exports are typically consistent in level — the whole track is hot but uniformly so. One pass of limiting and normalization usually handles it cleanly.
Udio exports are often more irregular. Some sections are fine, then a loud transient hits 0 dBFS unexpectedly. The richer layering also tends to produce more low-mid buildup — around 200-350 Hz — which shows up as muddiness after normalization.
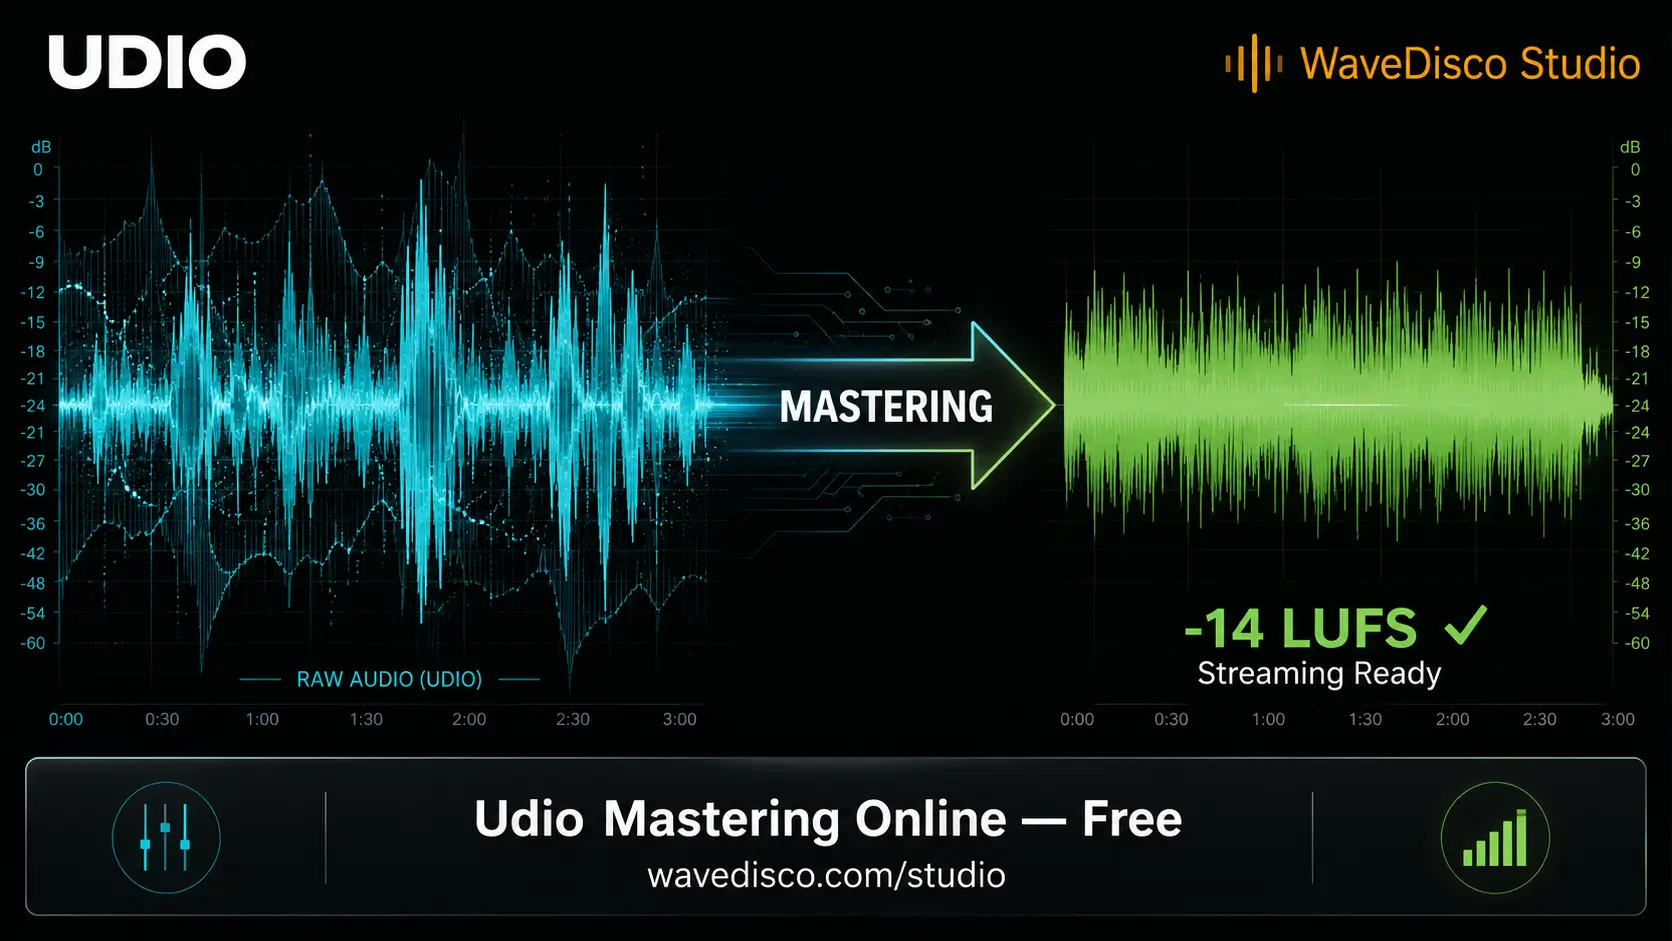
Typical Udio export: -9 to -11 LUFS, sometimes hotter than comparable Suno output.
What the Analyze Tab Shows You
Before processing any Udio track, spend 30 seconds in the Analyze tab in WaveDisco Studio.
Look at three readings:
Mud score — if elevated, you have low-mid buildup at 200-350 Hz. This is common in Udio's richer arrangements. A cut at that range before limiting produces a noticeably cleaner result.
True Peak — Udio's irregular transients often push peaks above 0 dBFS. Check Overload percentage. Any value above 0% means you have clipping that needs to be caught before normalization.
Dynamic Range — Udio tracks typically have more dynamic variation than Suno. This is good — it means the track hasn't been heavily pre-compressed. Don't over-limit it in mastering.
Open it: wavedisco.com/studio → Analyze tab
The Recommended Workflow for Udio Tracks
Step 1: Analyze
Drop your Udio track into WaveDisco Studio. Go to Analyze. Note the Mud reading and True Peak.
Step 2: Choose your mode
If Mud is in the normal range and True Peak is below 0 dBFS — Quick mode handles it cleanly.
If Mud is elevated or True Peak shows overload — use Auto-Master with Balanced strength, or switch to Manual for targeted correction.
Step 3: Manual mode for muddy Udio tracks
If the Analyze tab shows high Mud:
- Go to Master → Manual
- Find the 8-band EQ
- Pull down the LOW MID band (350 Hz) by 2-3 dB
- Listen — the mud clears noticeably
- Then apply limiting and normalization
This single EQ adjustment makes a significant difference on complex Udio arrangements.
Step 4: Processing strength
For Udio tracks, start with Balanced or Subtle strength in Auto-Master. Udio's dynamic range is worth preserving. Bold strength can over-compress the more interesting textural elements.
Step 5: Export
Export as 24-bit WAV. This is the correct format for distribution platforms. If your distributor accepts FLAC — also acceptable. Avoid MP3 for the master file.
Platform Targets for Udio Tracks
| Platform | Target | Note |
|---|---|---|
| Spotify | -14 LUFS | Most common target |
| Apple Music | -16 LUFS | Strictest — Udio's dynamics survive well |
| YouTube | -14 LUFS | Same as Spotify |
| SoundCloud | -10 LUFS | Closest to Udio's native output |
The Short Version
Udio exports hotter and more irregularly than Suno. Check Mud and True Peak in the Analyzer first. For muddy tracks, cut LOW MID at 350 Hz before limiting. Use Balanced or Subtle strength to preserve Udio's natural dynamics. Export 24-bit WAV.
WaveDisco Studio — free in the browser, no account needed.
Related: Suno vs Udio — Which Sounds Better After Mastering · How to Analyze Your AI Music · Free AI Music Mastering Tool