Quick and Auto-Master handle most tracks well. Manual mode is for when you want to understand exactly what's happening to your audio and control every step yourself.
This guide explains each module in the Manual processing chain — what it does, what the controls mean, and when to use it.
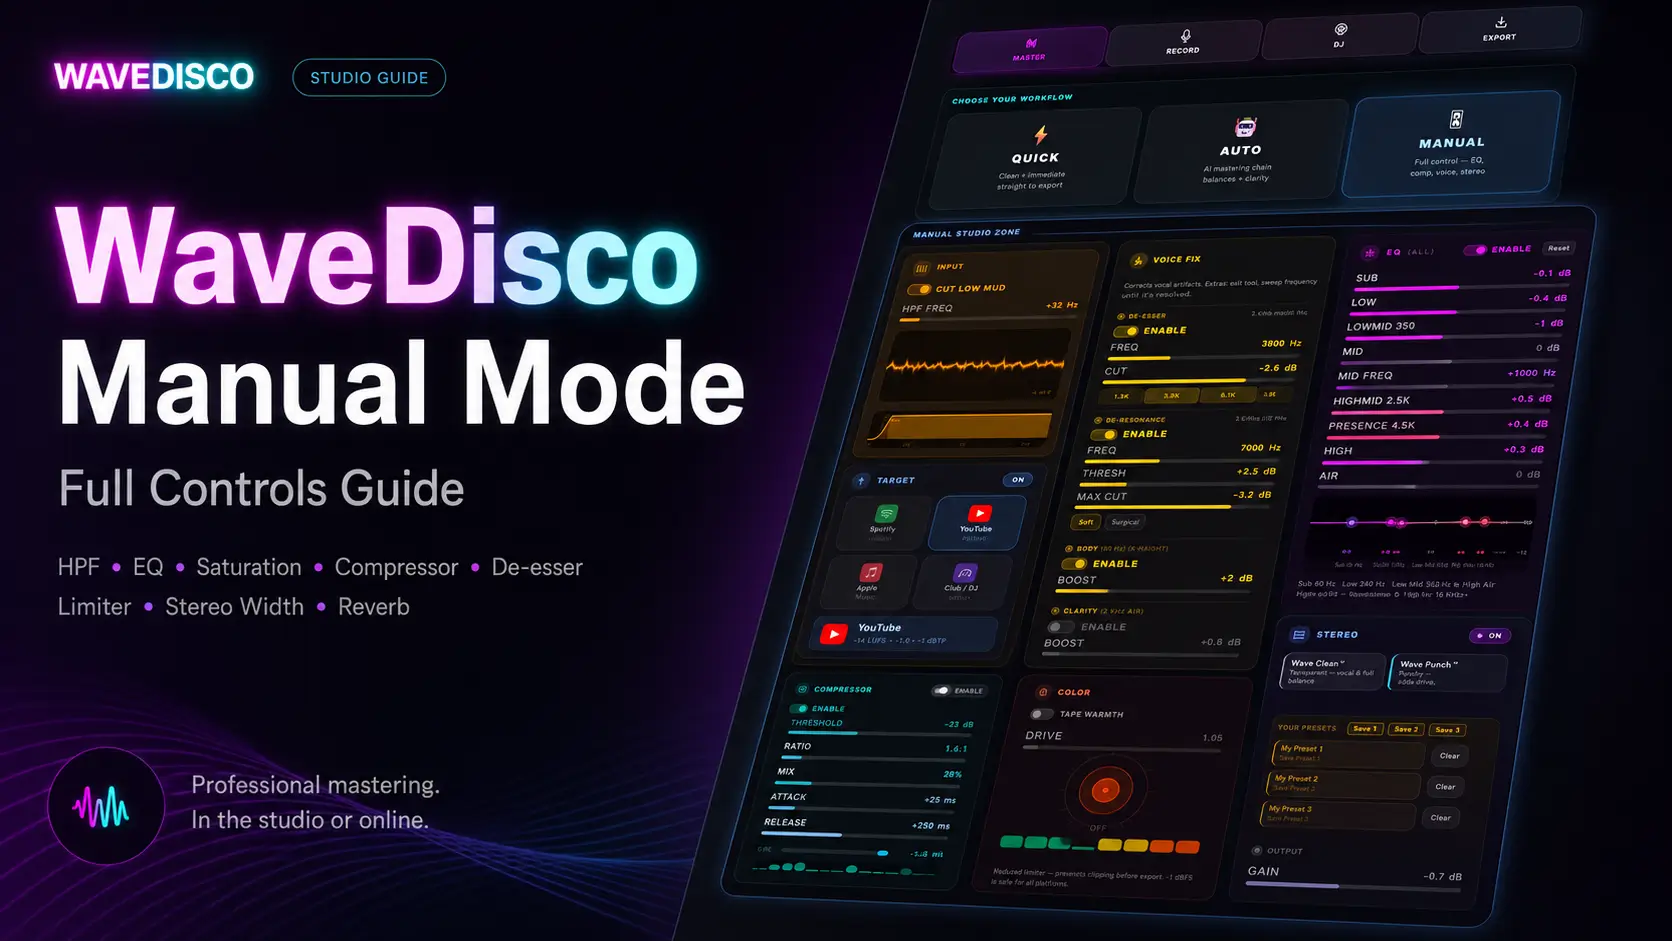
Open it: wavedisco.com/studio → Master tab → Manual
The signal chain
In Manual mode, your audio passes through modules in a fixed order. Each module can be adjusted or left at its default. The order matters — what happens earlier affects what comes later.
Input → HPF → EQ → Saturation → Compressor → De-esser → De-harsh → Voice Fix → Limiter → Stereo Width → Reverb → Output
HPF — High-Pass Filter
Removes everything below a set frequency. Default: 30 Hz.
AI music often contains low-frequency rumble below 30 Hz that you can't hear but affects how the track responds to compression and limiting. The HPF removes it cleanly before anything else touches the signal.
Range: 20–500 Hz. For most AI tracks, 30 Hz is correct. If the track has thin low end, lower it. If the bass sounds cloudy, try 60–80 Hz and listen.
8-Band Parametric EQ
Eight frequency bands, each adjustable from -12 to +12 dB. Drag the points on the curve — up or down for gain, left or right on the MID band to change frequency.
- SUB (75 Hz) — sub-bass. Reduce if the track is too heavy on small speakers.
- LOW (250 Hz) — low end body. Reduce if the track sounds muddy overall.
- LOW MID (350 Hz) — the mud zone. This is where AI music most commonly has buildup. If the Analyze tab shows high Mud — cut here first.
- MID (200–8000 Hz, moveable) — the core of the mix. Drag horizontally to find the problem frequency, drag down to reduce it.
- HIGH MID (2500 Hz) — upper midrange. Affects clarity and presence.
- PRESENCE (4500 Hz) — forward energy. Boost carefully — too much sounds harsh.
- HIGH (8000 Hz) — high frequency brightness.
- AIR (16000 Hz) — shimmer and openness above the audible midrange.
For AI music: start by checking LOW MID. A small cut of 2–3 dB at 350 Hz often cleans up muddy AI exports noticeably.
Tape Saturation
Adds subtle harmonic content — a warmth that digital processing alone doesn't produce.
Drive control: 0.5 to 8. At 0.5 the effect is transparent. At 8 you'll hear the character clearly. For most AI tracks, 1–2 is enough.
Use it or don't — it's a creative choice. Some tracks benefit from it, some don't need it.
Parallel Compressor
A compressor with a dry/wet Mix control. Mix at 0% means the compressor is bypassed entirely. Mix at 100% means fully compressed signal. Anywhere between blends the two versions.
Controls: Threshold, Ratio, Attack, Release, Mix. The Gain Reduction meter shows how hard the compressor is working in real time.
For AI music: start with ratio 3:1 or 4:1, and Mix around 30–40%. Increase Mix until the track feels more controlled, back off when it starts sounding pumped.
De-esser
A narrow notch filter in the 5–12 kHz range. Reduces sibilance — the harsh S and SH sounds that compressors tend to make more obvious.
If your track has vocals, check whether compression made the sibilants harsh. If yes, set the frequency to where the harshness sits and reduce gain by 3–6 dB.
For purely instrumental AI tracks, the De-esser usually isn't needed.
De-harsh
A broader reduction in the 3800–5000 Hz range. Controls energy in the upper midrange where harshness and listening fatigue come from.
If the Analyze tab shows elevated Harsh reading — this is the module to address it. Start at -3 dB and listen. Too much De-harsh makes the track sound dull.
Voice Fix: Body and Clarity
Two shelving filters applied after compression.
Body: low shelf at 250 Hz, up to +6 dB. Restores warmth that compression can strip out.
Clarity: high shelf at 12 kHz, up to +6 dB. Adds air and definition above the compressed midrange.
A small amount of each — 2–3 dB — can make a heavily processed track sound natural again.
Limiter
Sets the true peak ceiling. Default: -1 dBTP.
The limiter catches any peaks that exceed the ceiling and brings them under control without ring artifacts.
Don't push it hard. If the limiter is reducing by more than 3–4 dB — the track needs gain reduction earlier in the chain, not a harder limiter.
Stereo Widening
Width control: 50% narrows toward mono, 100% is standard stereo, above 100% widens beyond the original.
Mono Bass: keeps low frequencies in the center regardless of width setting. Important for streaming and club compatibility — bass should be mono on most systems.
Be careful above 120% — phase issues can appear on some playback systems.
Reverb
A parallel reverb effect — adds space without replacing the original signal.
Decay: 0.1 to 4 seconds. Wet: 0 to 100%.
For mastering use, keep Wet low — 5–15%. Reverb in mastering is a subtle finishing tool, not a creative effect.
The one-minute Manual workflow
- Check Analyze tab — note Mud, Harsh, LUFS readings
- HPF at 30 Hz — leave unless the track has thin bass
- EQ — cut LOW MID if Mud is high, cut PRESENCE if Harsh is high
- Compressor — Mix at 30%, ratio 3:1, listen for pumping
- Limiter — set to -1 dBTP
- Stereo Width — 100% unless you want to adjust
- Export
Come try it: wavedisco.com/studio
Related: WaveDisco Studio — Complete Guide · How to Analyze Your AI Music · How to Fix Clipping