By Serj · July 2026 · 5 min read
You made a track in Suno. It sounds good in the Suno player. You export it — and something feels off on Spotify or YouTube.
This guide explains exactly why that happens and how to fix it online, for free, without installing anything.
Why Suno Tracks Need Mastering
Suno optimizes its output for its own preview player. Export levels vary considerably — in our measurements on three tracks, integrated LUFS came out between -13.8 and -15.0 depending on genre. Full results here. What stays consistent: peaks sitting close to 0 dBFS regardless of the integrated level.
Streaming platforms work differently. Spotify normalizes to -14 LUFS. Apple Music normalizes to -16 LUFS. When your Suno track arrives louder than the target, the platform turns it down automatically.
The problem: turning down a hot track doesn't remove clipping. If peaks were hitting 0 dBFS in the original, those samples are already distorted. Reducing volume just makes the distortion quieter — it stays audible on good speakers or headphones.
The fix: master before upload.
What Mastering Does for a Suno Track
A properly mastered Suno track goes through three corrections:
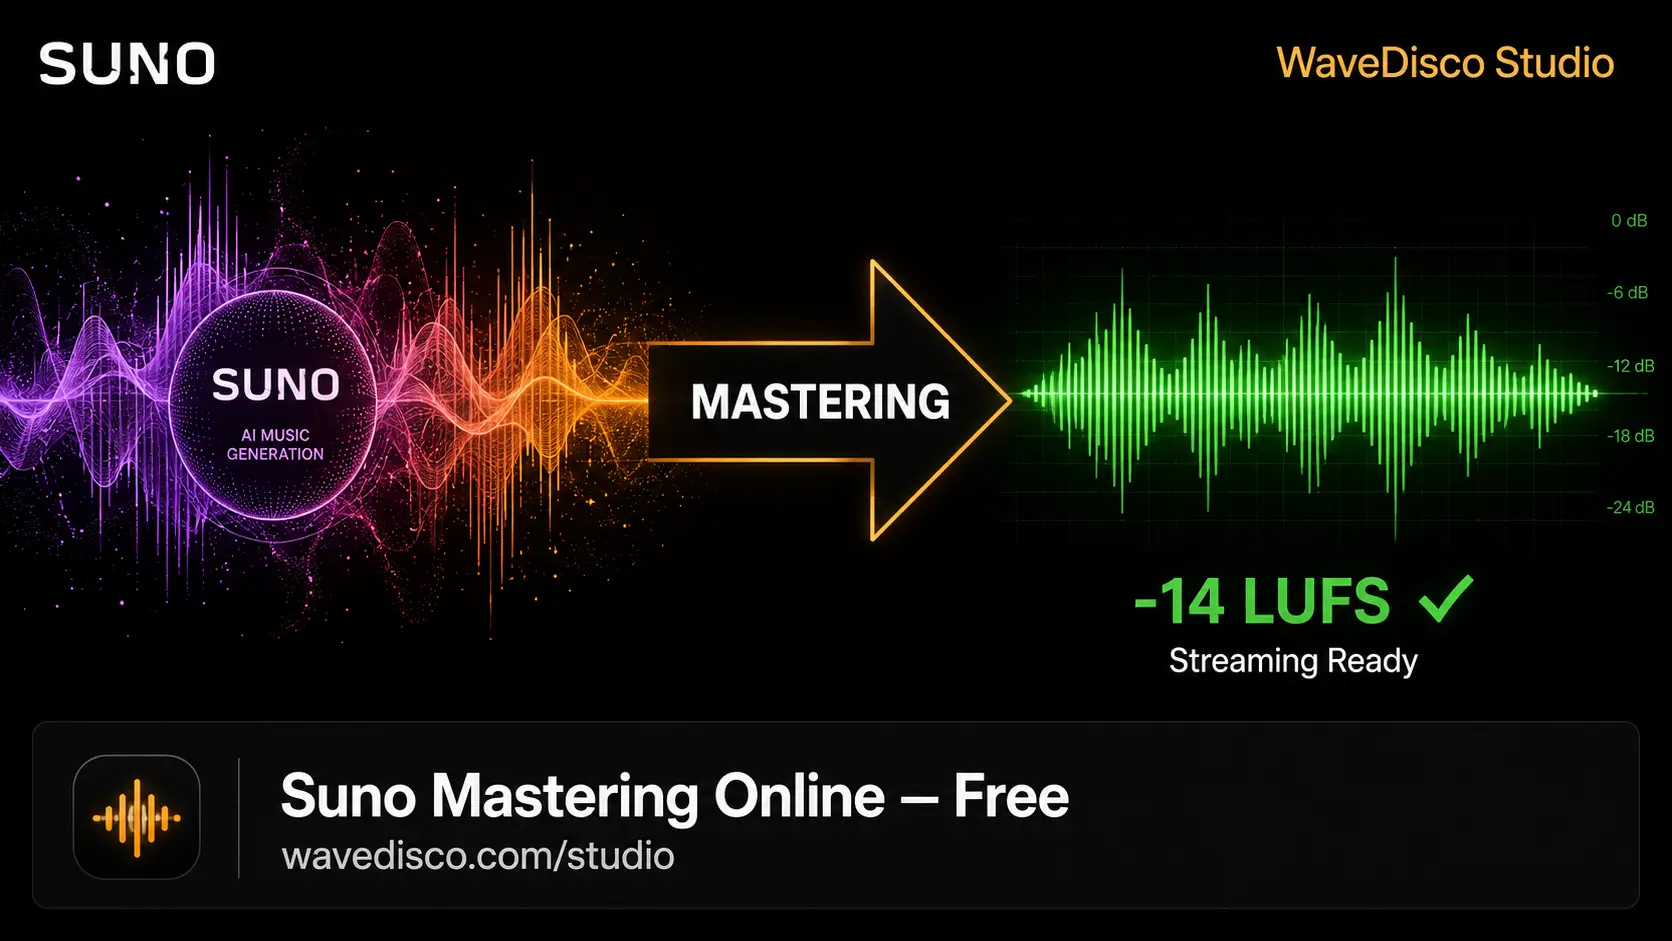
Loudness normalization — brings integrated LUFS to the platform target. Spotify gets -14 LUFS. Apple Music gets -16 LUFS. The track plays at the right level without the platform correcting it.
True peak limiting — catches peaks that exceed -1 dBTP. This is what removes clipping before it reaches the platform. True peak limiting is different from regular peak limiting — it catches distortion that hides between samples, where most Suno clipping actually occurs.
High-pass filtering — removes low-frequency content below 30 Hz. Suno sometimes generates sub-bass rumble in this range that's inaudible but affects how compression and limiting behave. Removing it first produces a cleaner result.
How to Master Your Suno Track Online
WaveDisco Studio is a free browser tool built specifically for AI music. No install, no account, no watermark.
- Open wavedisco.com/studio
- Drop your Suno MP3 or WAV file
- Go to the Analyze tab — check your LUFS and True Peak readings
- Go back to Master tab — choose Quick or Auto-Master
- Select Spotify or your target platform
- Click process — typically done in seconds
- Export 24-bit WAV
- Upload to your distributor
Quick vs Auto-Master for Suno Tracks
Quick mode works well for most Suno tracks. It applies the Wave Clean preset — high-pass filter at 30 Hz, true peak limiter at -1 dBTP, loudness normalization to target. One click, clean result.
Auto-Master is worth using when the Analyze tab shows elevated Mud or Harsh readings. It detects your genre automatically — Electronic is the default for most Suno output — and applies genre-appropriate EQ corrections before limiting and normalizing.
If your Suno track has vocals, try Pop or Hip-Hop genre setting instead of Electronic. The EQ curves are optimized differently.
What to Check Before Uploading
After mastering, verify three things:
- Integrated LUFS is at or near your platform target
- True Peak is at -1 dBTP or below
- The track sounds natural at normal listening volume — not squashed or pumped
If the track sounds over-compressed, the Suno export may have already been heavily limited internally. In that case use Subtle strength in Auto-Master, or reduce limiting in Manual mode.
The Short Version
Suno exports vary in integrated LUFS but consistently produce peaks at or near 0 dBFS. Streaming platforms require true peaks below -1 dBTP. Master before upload — your track will sound noticeably cleaner on every platform.
WaveDisco Studio handles this free in the browser.
Related: What Is LUFS · How to Fix Clipping · Free AI Music Mastering Tool